Imagine you’re trying to work or watch something on your Surface Pro, and the constant visual chaos makes it nearly impossible to focus on anything. We can understand how unproductive it can be to work from a screen when it’s shaking. This is when you need to know how to fix Surface Pro screen shaking and flickering before it drives you completely crazy. No need to panic, before you take some drastic measures, let’s take a look at what can be done!

- How to Fix Surface Pro Screen Shaking and Flickering
- Method 1: Perform a Power Cycle
- Method 2: Turn Off White Light
- Method 3: Remove New Software Installations
- Method 4: Check Hardware Issues
- Method 5: Adjust Screen Resolution
- Method 6: Run DISM Scan
- Method 7: Update or Rollback Display Drivers
- Method 8: Run Windows Troubleshooter
- Method 9: Contact Microsoft Support
How to Fix Surface Pro Screen Shaking and Flickering
Most of the time, this annoying issue has a straightforward fix! Let’s get started.
Method 1: Perform a Power Cycle
Turning off your screen for a while can fix any internal glitches. Shut down your Microsoft Surface, disconnect the cable wires, and wait for 5-10 minutes. After that, restart the device.
Method 2: Turn Off White Light
Some Surface Pro models may flicker when the white light setting is enabled.
- Open Settings and click on System .
- Select Display .
- Now, turn the toggle on for Night light .
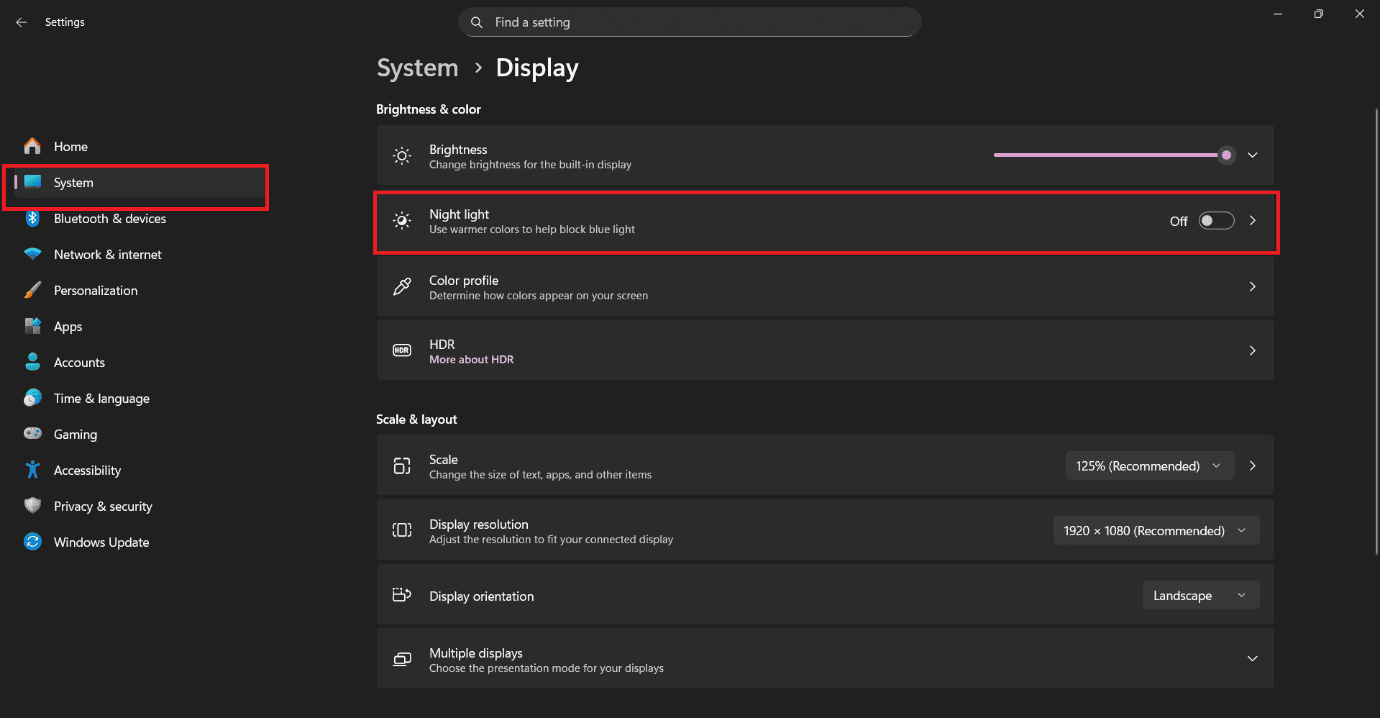
You will get white tones on your screen.
Method 3: Remove New Software Installations
If you have recently installed new software and started facing display issues, it’s likely that the software is causing the problem.
- Press the Windows and R keys together to open the Run dialog.
- Type in appwiz.cpl and press Enter .
- Right-click on the software of your choice.
- Then, select Uninstall .
- Click on Yes .

Your issue should be fixed if this is the reason.
Method 4: Check Hardware Issues
Before you take big steps, ensure that your device does not have physical damage on its skin or around the display. If the left side of the Microsoft Surface’s screen is yellow or has yellow patches, that indicates hardware damage.
Method 5: Adjust Screen Resolution
Start by adjusting screen resolution to avoid friction between the Monitor and the Microsoft operating system, as follows:
- Open Settings and click on Display from the left menu.
- Click on the Display Resolution .
- Select Scale .
- Here, select the resolution marked as Recommended .
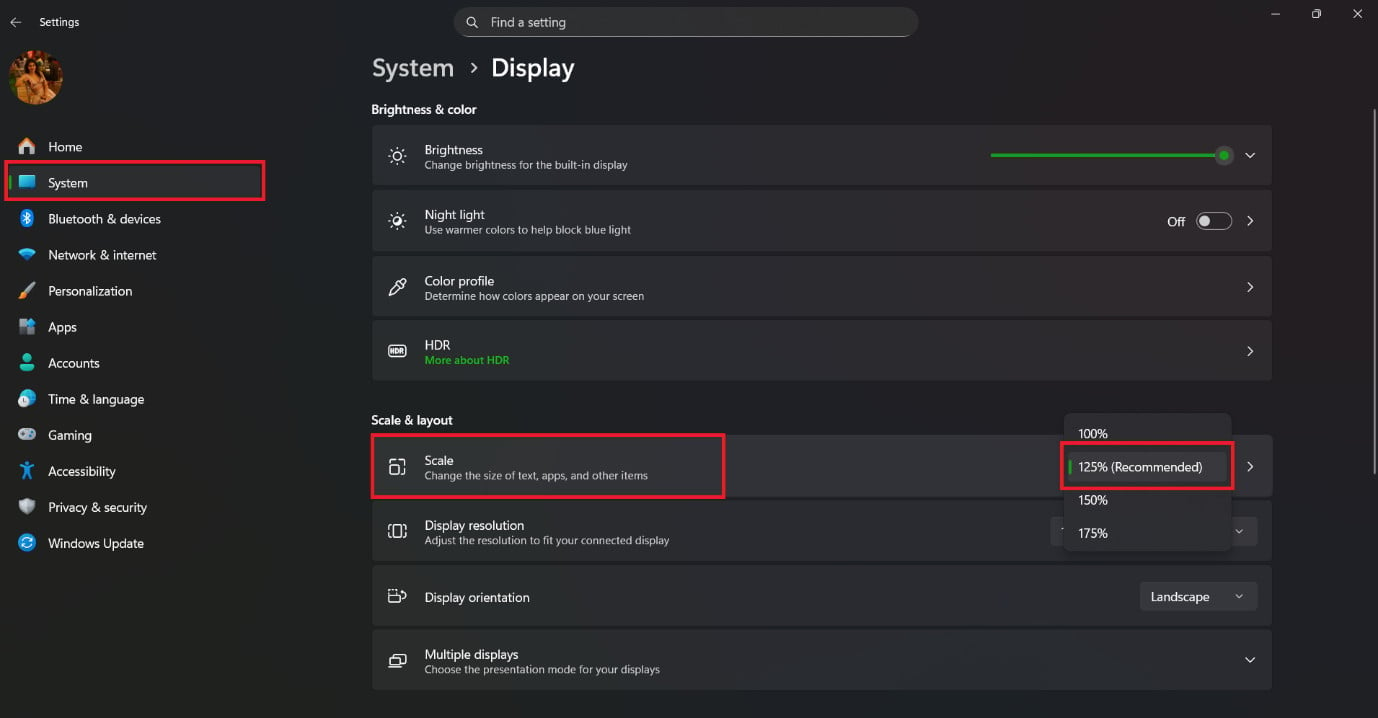
Restart your PC.
Method 6: Run DISM Scan
DISM is essential for fixing issues in Component-Based Servicing or CBS. If you are facing problems with Display files, then this could fix the lines on the laptop screen issue.
- Type & search cmd. Click on Run as administrator to launch Command Prompt with administrative privileges.
- Type DISM /Online /Cleanup-Image /ScanHealth as shown and hit Enter.
- After the first scan is complete, run DISM /Online /Cleanup-Image /RestoreHealth command.
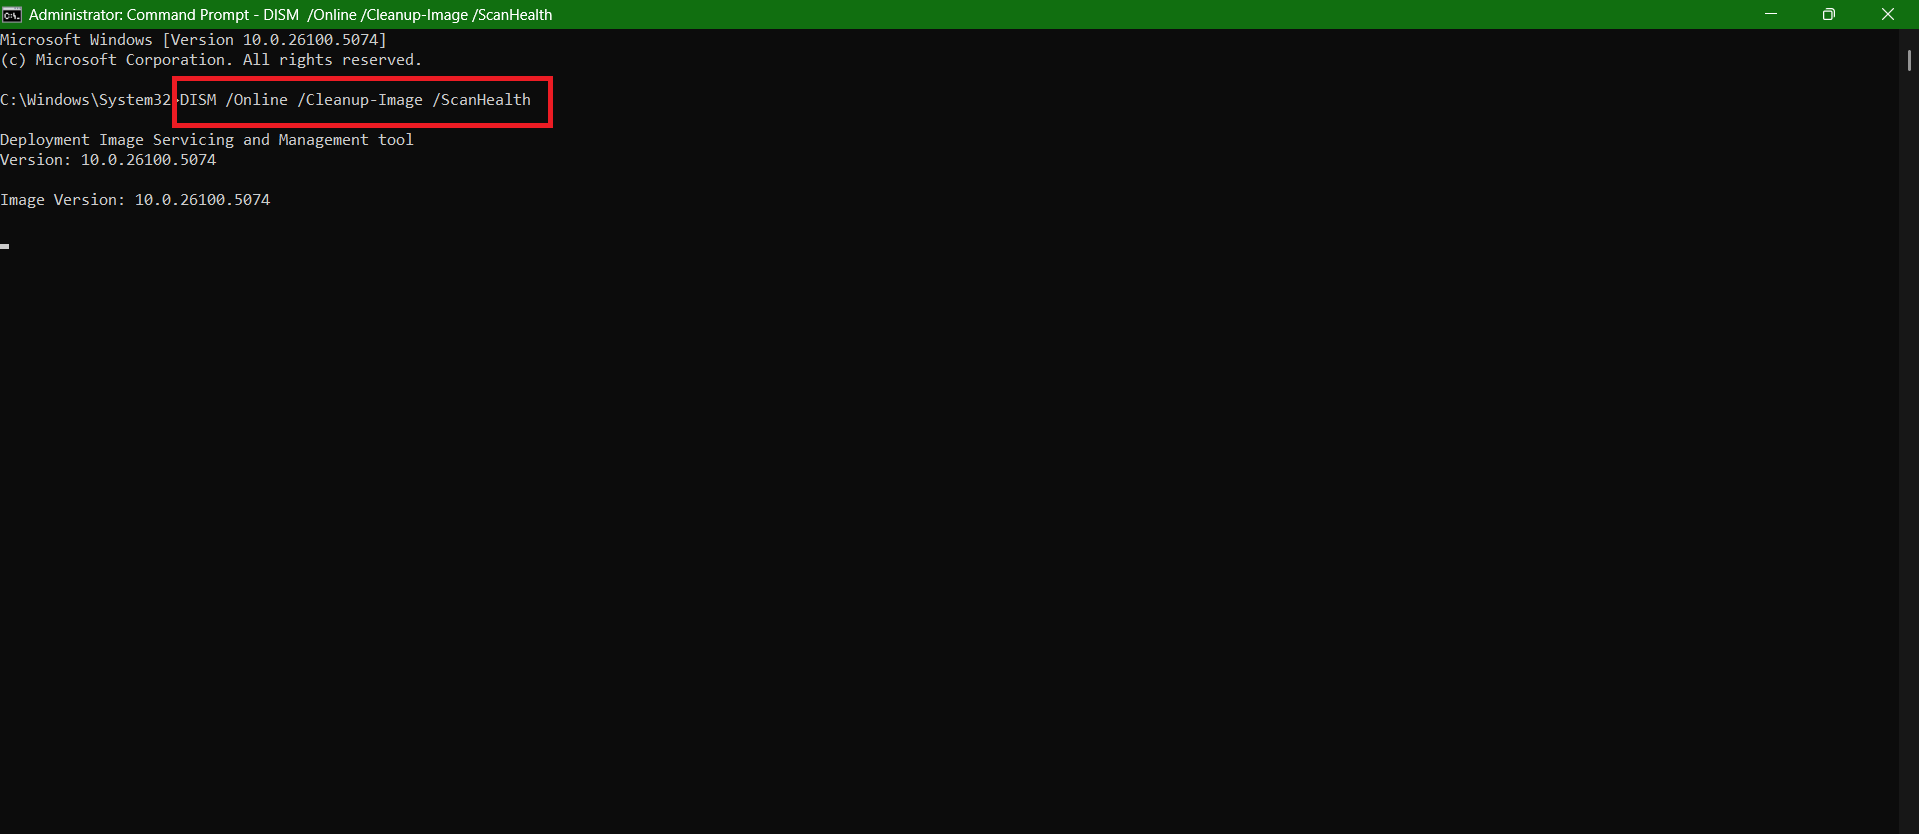
Restart your computer once done.
Method 7: Update or Rollback Display Drivers
You can also install the latest version of your display driver.
- Open Control Panel and click on Device Manager .
- Select Display Adapters from the left menu.
- Click on the display software .
- Then, click on Driver from the top ribbon.
- Now, select Update Driver or Roll Back Driver .
- Click on OK .
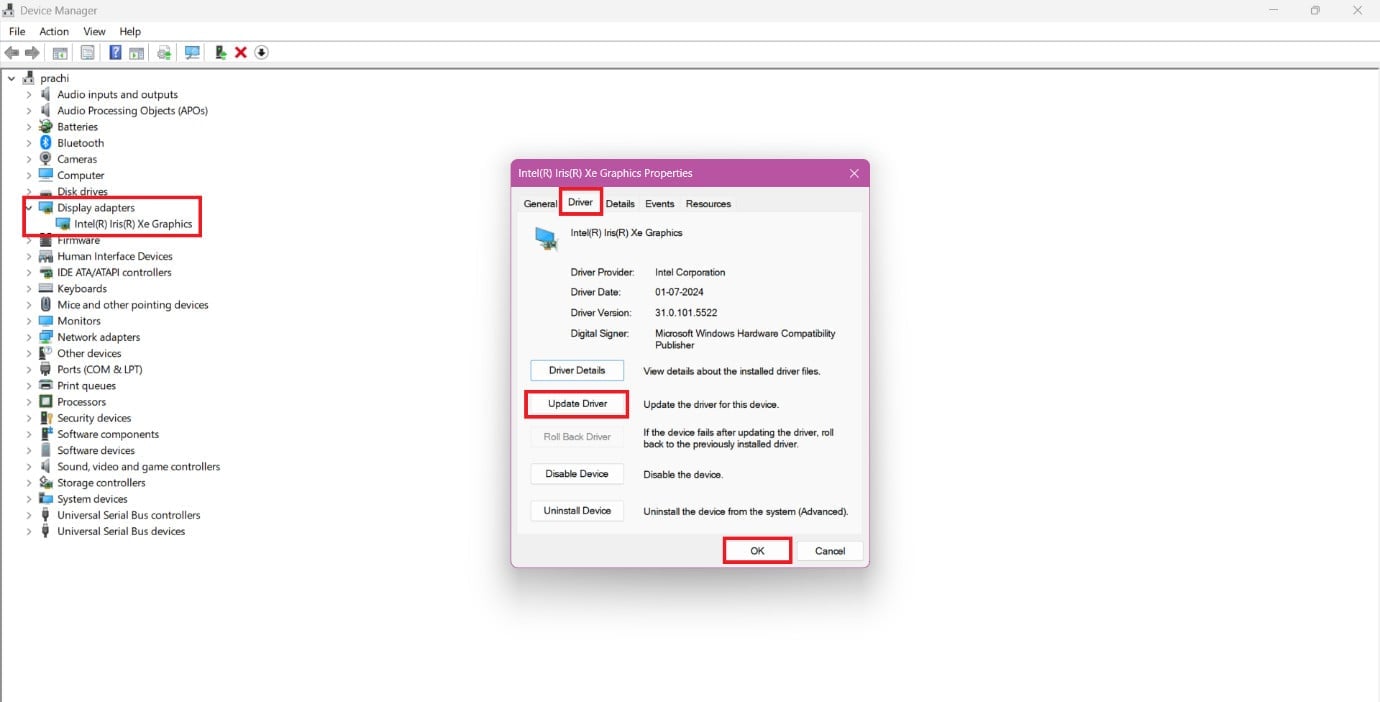
Your problem should be solved.
Method 8: Run Windows Troubleshooter
If the problem is more widespread and not limited to videos, then running the Hardware and Devices troubleshooter is your best bet.
- Press Windows + R keys simultaneously to launch the Run dialog box.
- Type msdt.exe -id DeviceDiagnostic and click on OK.
- Here, click on the Advanced option .
- Check the box marked Apply repairs automatically and click on Next .
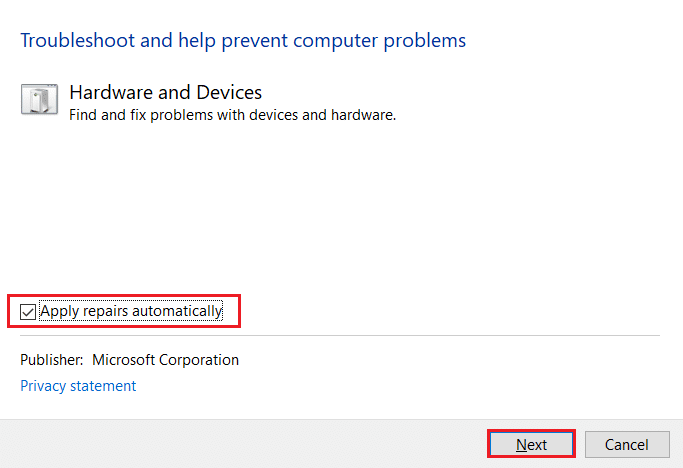
Once the process is completed, restart your PC and check if the issue is resolved.
Method 9: Contact Microsoft Support
If no fixes work out, it’s best to contact Microsoft Support. Contact the manufacturer or a verified service center to get in touch.
